
Are you tired of constantly having to get up to turn off your appliances or lights? Look no further, because the Kasa Smart Plug and Google Home have got you covered! With just a few simple steps, you can easily add your Kasa Smart Plug to your Google Home and control your devices with just your voice. This innovative technology allows for a more convenient and hands-free approach to managing your home.
In this blog post, we will guide you through the process of adding your Kasa Smart Plug to Google Home, so you can sit back and relax while your smart devices do the work for you. Get ready to elevate your home automation game with the Kasa Smart Plug and Google Home!
Understanding the Benefits of Connecting Kasa Smart Plug to Google Home

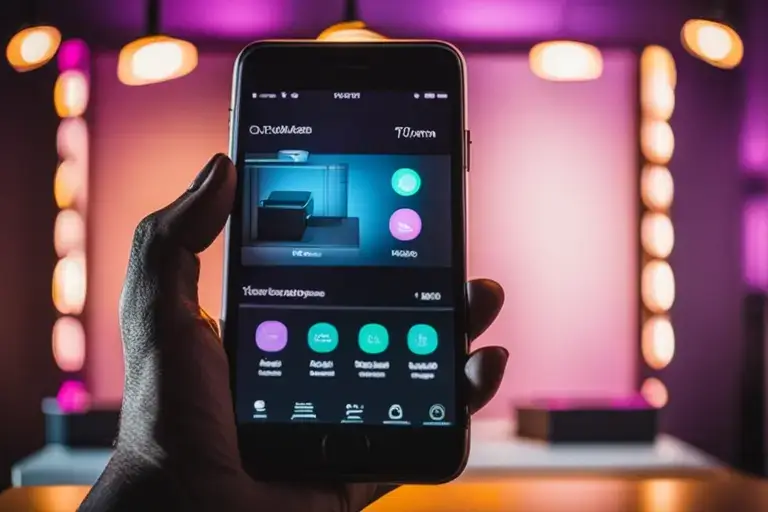
Imagine the convenience of being able to control your devices without leaving your cozy spot on the couch. That’s exactly what the Kasa Smart Plug and Google Home combo offers you! Once you connect your Kasa Smart Plug to Google Home, you get the power to control your home appliances with just your voice, thanks to Google Assistant.
Want to dim the lights for a movie night? Just say the word. Need to switch off the fan without moving a muscle? Ask Google. It’s that easy! Additionally, you can schedule your devices to turn on and off at specific times of the day, giving you a higher degree of control over your energy usage and potential savings on your electricity bills.
The icing on the cake is the ability to create routines, allowing you to automate several actions with a single command. For instance, a “goodnight” routine could turn off all lights, lock the doors, and set your alarm for the next day. What a world of convenience at your fingertips—or rather, on the tip of your tongue!
Preparing Your Kasa Smart Plug for Connection
Before you start the process of adding your Kasa Smart Plug to Google Home, ensure you have the necessary prerequisites. These include the Kasa smart plug, the Google Home app installed on your smartphone or tablet, and a stable Wi-Fi connection.
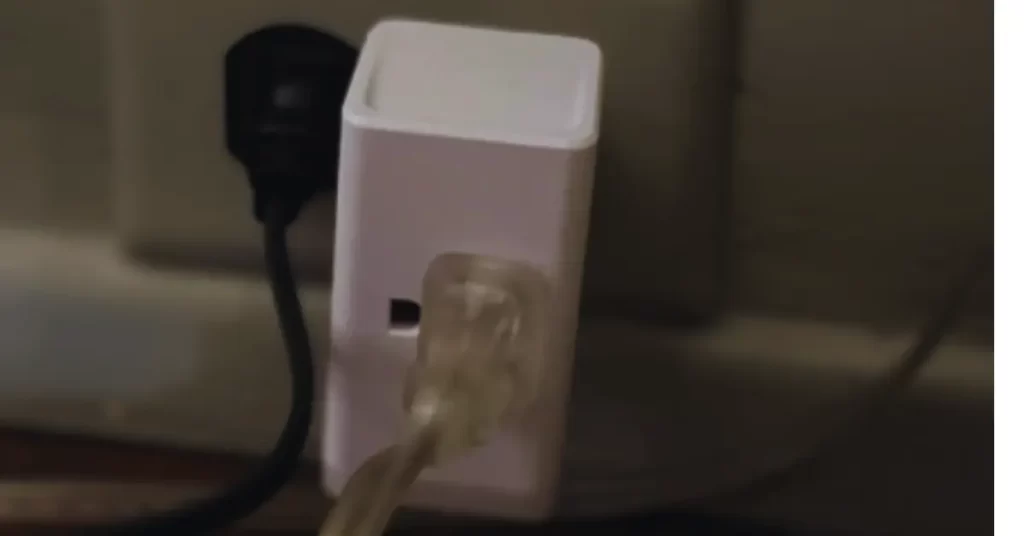
First, plug the Kasa smart plug into an electrical outlet. Then, ensure your device is in pairing mode. This can be confirmed by the rapidly blinking light on the Kasa plug, as shown in the image below. If your Kasa plug isn’t blinking, simply press and hold the settings button for about 10 seconds until the LED light starts to flash. This puts your device into pairing mode, making it ready for connection with Google Home.
Connecting Kasa to Google Home
Now that your Kasa Smart Plug is in pairing mode, it’s time to connect it to your Google Home. Start by launching the Google Home app on your smartphone or tablet. At the main screen, tap the “+” button located at the top-left corner to open a new menu. From this menu, select the option that says “Set up device.” Next, choose “Works with Google.”
This will display a list of all compatible devices. Scroll through the list or use the search bar at the top to find “TP-Link Kasa.” Once you’ve found it, tap it to continue. You will then be prompted to sign in to your Kasa account. After signing in, authorize Google Home to access your Kasa account.
This step allows Google Home to communicate with your Kasa Smart Plug. Following successful authorization, a list of your Kasa devices will appear. Choose the Kasa Smart Plug you wish to add. After you’ve selected it, assign it to a room. This helps Google Home manage your devices more effectively. Congratulations, your Kasa Smart Plug is now connected to Google Home!
Voice Control Magic
With your Kasa Smart Plug now connected to Google Home, the magic of voice control is at your command. You can easily control your devices with simple voice commands through Google Assistant. For instance, you can say, “OK Google, turn on the lamp” to illuminate your room, or “OK Google, dim the kitchen lights” for a more ambient dinner setting. No need to hunt for switches or remote controls—it’s all done with your voice!
But the convenience doesn’t stop there. With Google Home’s scheduling capabilities, you can also automate your devices to work on a routine. Want to wake up to the smell of freshly brewed coffee? Schedule your smart coffee maker to start brewing at your usual wake-up time.
With Google Home and Kasa Smart Plug, you can even set up complex routines. For example, with a single command like “OK Google, bedtime,” you can dim the lights, turn off your TV, and lower your thermostat. The power to control your home with your voice is indeed magic!
Assigning Your Kasa Smart Plug to a Room
Assigning your Kasa Smart Plug to a specific room in Google Home not only keeps your home organized but also allows for more precise voice control. To do this, within the Google Home app, select your newly added Kasa Smart Plug from the list of your devices. Next, tap on the “Room” tab. You’ll then see a list of room options such as “Living Room”, “Kitchen”, “Bedroom”, and more.
Select the room where your Kasa Smart Plug is located. If the room you’re looking for isn’t listed, don’t worry! You can easily add a custom room by tapping on “Add custom room” at the bottom of the list. Enter the room’s name and tap “Next”. Your Kasa Smart Plug is now associated with that room!
Now, when you give voice commands to Google Assistant, it will know exactly which device you’re referring to, making your smart home experience even smoother and more personalized. So go ahead, assign your Kasa Smart Plugs to their respective rooms and enjoy the convenience of a well-organized, voice-activated smart home.
Troubleshooting Possible Issues
If you run into any hiccups during the process of adding your Kasa Smart Plug to Google Home, don’t worry! Here are a few common issues and ways to resolve them.
- If your Kasa Smart Plug is not appearing on the list of devices in the Google Home app, ensure your plug is in pairing mode and your Wi-Fi connection is stable.
- Remember, the LED light on the plug should be rapidly blinking. If your voice commands are not working as expected, check if the Kasa Smart Plug is correctly assigned to a room in the Google Home app. Make sure you are using the correct name of the device while giving voice commands to Google Assistant.
- Finally, if all else fails, you can reset your Kasa Smart Plug and start the setup process afresh. To reset, press and hold the settings button on the plug for 10 seconds until the LED light blinks rapidly again.
Remember, technology is here to simplify your life, not complicate it. Don’t let minor issues deter you from enjoying the magic of a smart, voice-controlled home!
Conclusion
Embracing the convenience and control that the integration of Kasa Smart Plug and Google Home offers is a game-changer in home automation. From the comfort of your couch or bed, you can command your home appliances and schedule routines, all while potentially saving on energy costs. This marks the beginning of a smarter and more efficient way of living.
We encourage you to continue exploring this fascinating world of voice-controlled technology. Don’t be afraid to experiment with different commands and routines. You’ll be amazed at how much easier it can make your daily life.
Lastly, we’d love to hear from you! Share your unique experiences and any creative uses you’ve found for your Kasa Smart Plug and Google Home in the comments below. Embrace the future of home living and watch as your home evolves into a personal haven of convenience and efficiency.
You can also read